7 min to read
Sitecore JSS: Development Modes

Sitecore JSS is the new way of developing in and with Sitecore. The quickstart is pretty straightforward when it comes to the disconnected mode. This blog also focuses on the Code-First workflow and the Sitecore-First workflow.
 Sitecore JSS: modes
When you want to start developing in Sitecore JSS you can choose beween four flavours. For only one of them Sitecore isn't required.
- Disconnected mode - As I described before this mode is pretty straightforward. Does not require Sitecore and it's just like developing a plain ReactJS website with webpack. In one of the next posts I'll dig deeper into modifying the default app scaffold to make it more mature.
- Connected mode - This is the mode I am focussing on in this blog. A connection to Sitecore is needed as data will be retrieved from Sitecore. Sitecore templates and items are governed from Sitecore.
- Integrated mode - After deploying your app, it will be run in Sitecore. A Node server in Sitecore will render your app through SSR. Note: Deploying your app through
JSS deploy app --includeContent --includeDictionarywill alway make this mode available. After deployment open a page in the Experience Editor and you're good to go. - API mode - Especially for people who don't want all the overhead stuff and do not want to be bothered with all the Sitecore JSS specific stuff (as someone said to me: 'I'd rather start studying quantum physics'). Keep in mind that when you start this way you do not have the advantages of the routes, components, content API's and all other great stuff the JSS team provides us with.
 Setting up the connection
The JSS CLI is a great tool which takes a lot of work out of your hands like: setting up, running modes and deploying your app in several ways. After creating your app with jss create [appname] [app type] you have to set up the connection information. This can be done manually but it's easier to do it this way. Running jss setup will ask you some questions and generates the scjssconfig.json file which will be used for the connection to your Sitecore instance.
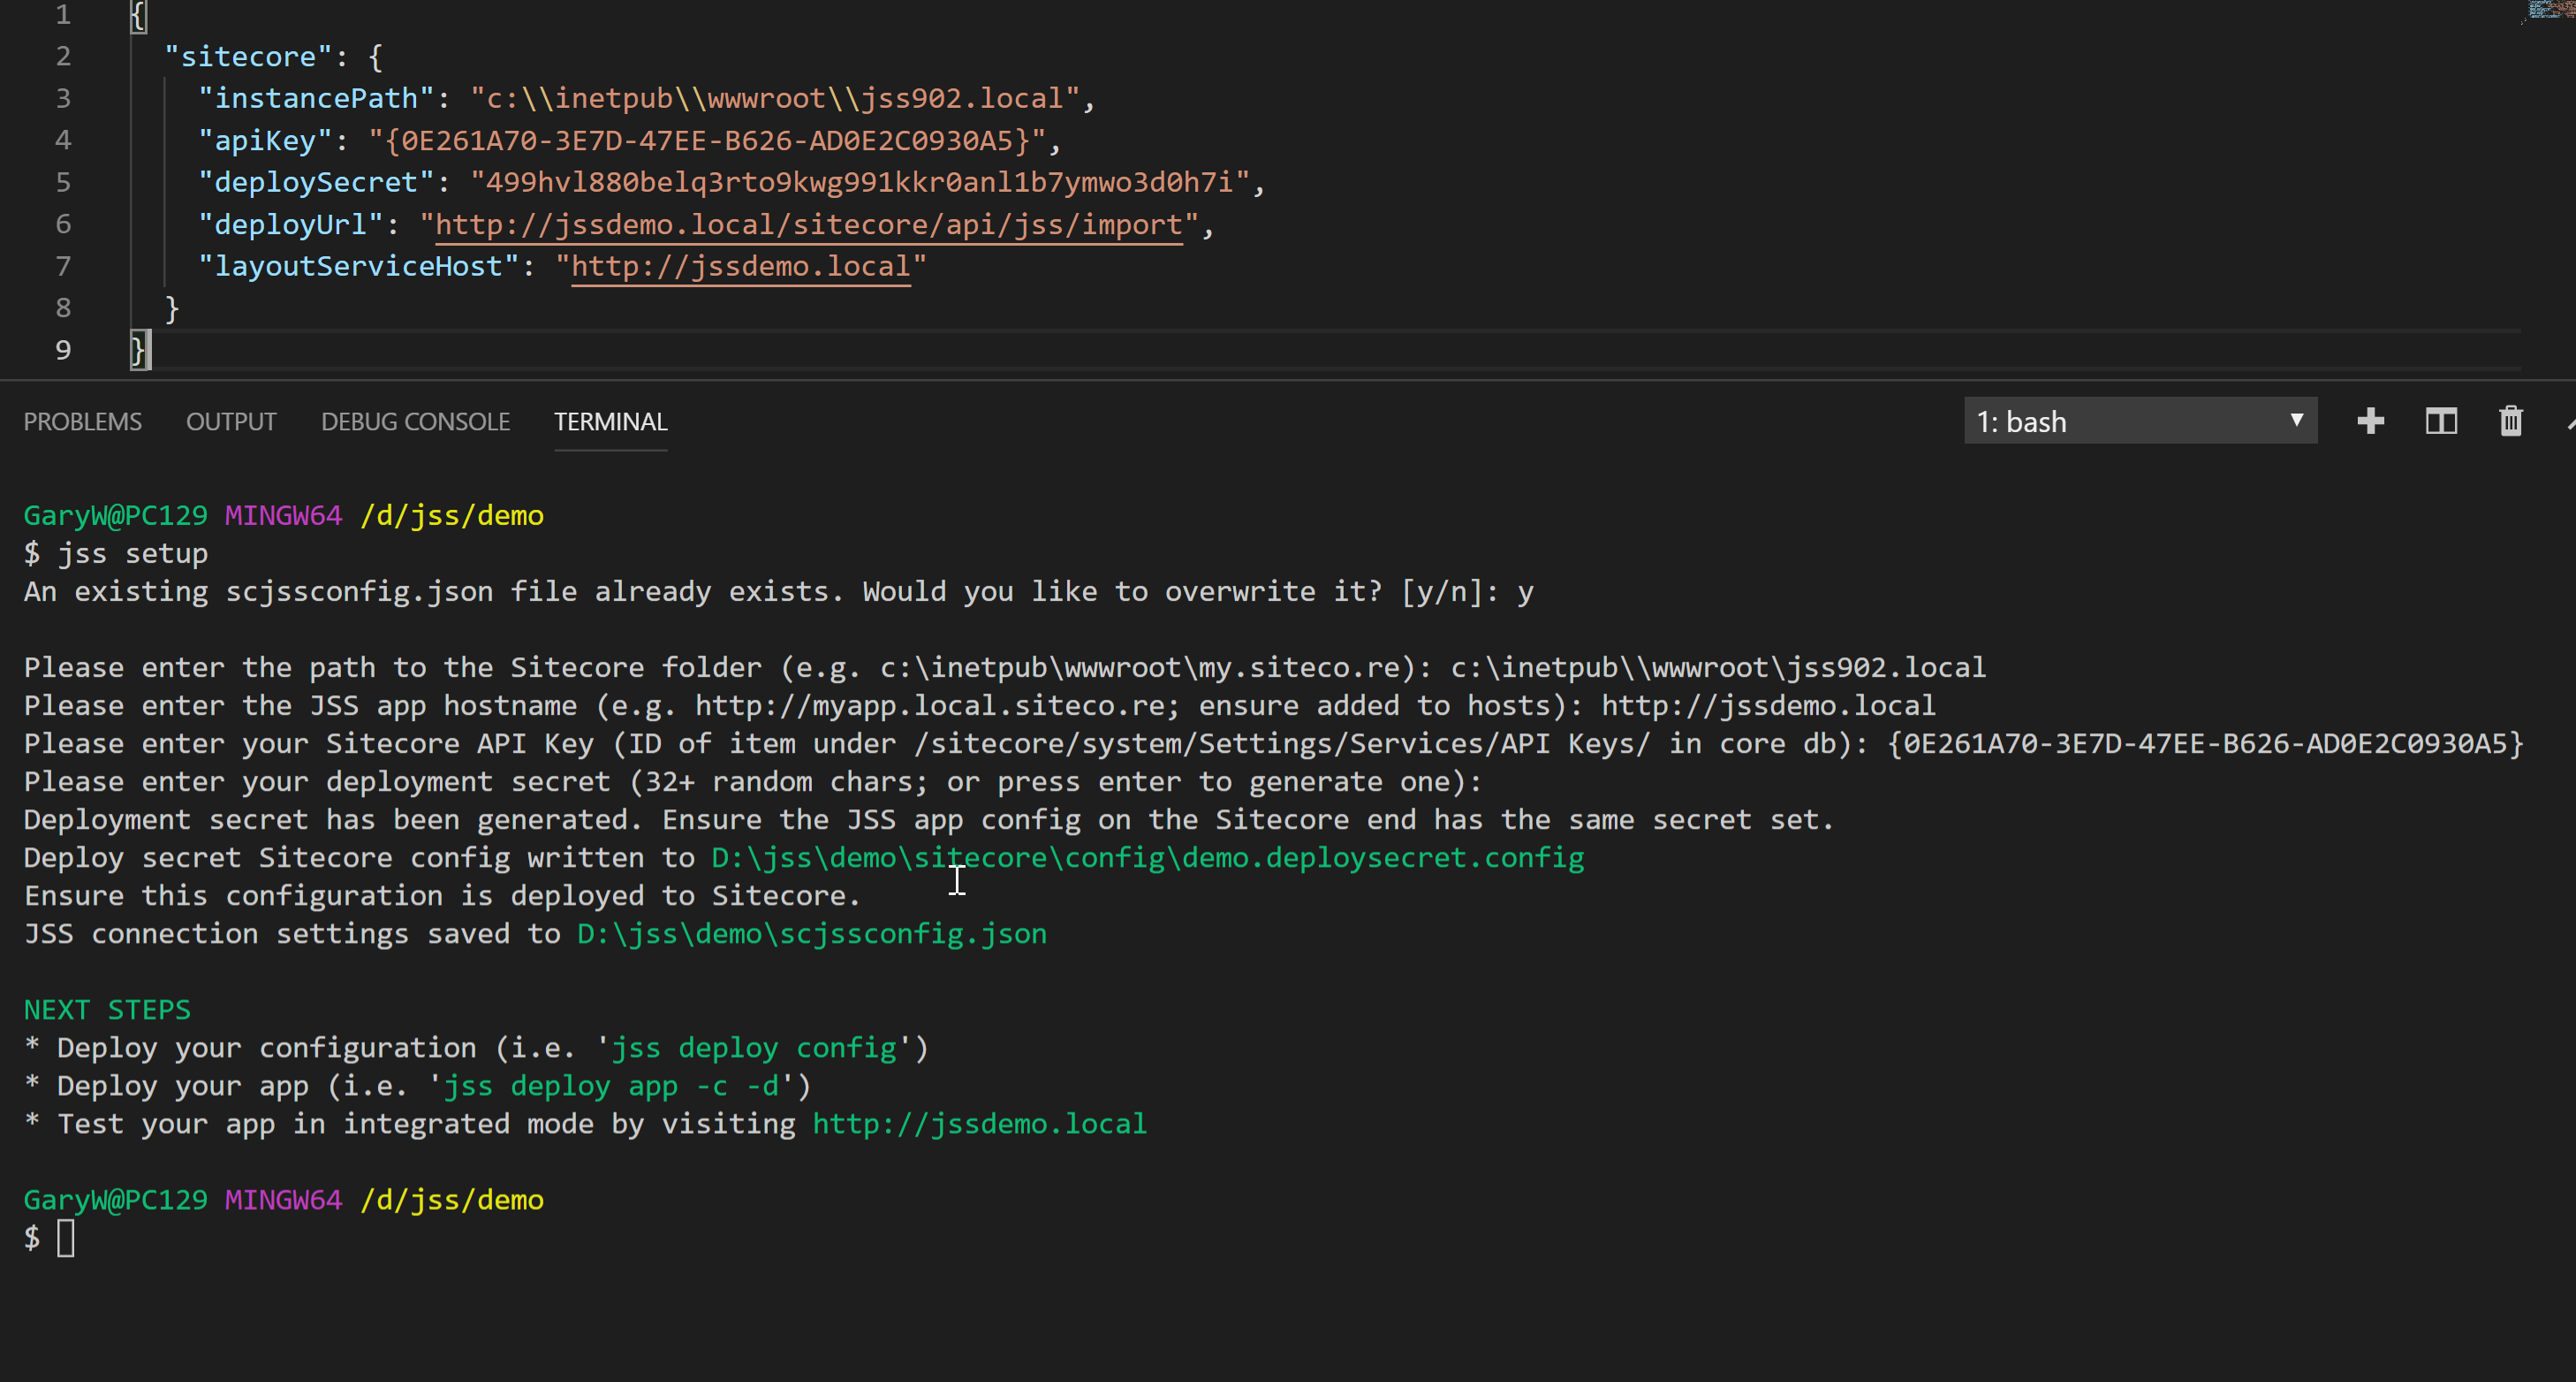
After creating this file make sure to check your configuration to see if there are no typo's and stuff ;-) Next, you deploy the configuration to Sitecore. Using the jss deploy config command two Sitecore configuration files will be added to the /App_Config/Include/zzz folder: a file with a secret token for deployment and the site configuration plus the GraphQl endpoint config. When you do not have a local instance of Sitecore you can always change the value of the instancePath in your scjssconfig.json file, point to a local folder and copy it afterwards to your Sitecore instance. You can also change the location where the files are copied changing the package.json property sitecoreConfigPath to something else.
 Sitecore JSS Deployment
Now that we've configured the connections and deployed our configuration we can deploy our app. Before doing so you have to do some configuration in Sitecore to prepare usage and deployment of your app. There are some options to choose from using the command jss deploy:
- jss deploy app - This is the shorthand for files and items but know that you have less control over your deployment flow. Your entire app is built in production mode and imported into Sitecore. It will create templates, a folder for your media library assets, a layout (
/Views/JssApp.cshtml) several renderings (based on templatejson rendering) and a start node (app) for your site with an empty dictionary folder for translations and a folder with your components. But there is no content. Use the switch--helpto see more options. - jss deploy files - Will build your app and deploy it to Sitecore. No templates, components and content are added. Just the distro which is built. Using the
--cleanswitch also the old data will be wiped first. - jss deploy items - This is my favorite as it can do a lot! By default it creates a manifest and package and then deploys it. As with
deploy appthis command also does not include the dictionary and content items by default. So you need to use switches for this to do so. Take into account that your content will not be wiped using the--wipeswitch. For this action use the following approach: first create the manifest (or when you ran thejss deploy apporjss deploy itemsit's already there). Change the manifest and setwipeExistingtotrue. This will allow wiping all content and replace it with new ones. After this you haveto use the--skipManifestswitch which will use the existing manifest. If you don't do this your existing manifest will be overwritten and edited content items still are not updated in Sitecore. For our demo we want to included data so we use the-dand-cswitches too. Important: Changing content means you'll need to regenerate your manifest as this file holds the content you are importing (not the YAML files). And don't forget thewipeExistingswitch!
 Sitecore JSS: connected mode
Now that you have deployed your app and also have some content imported it's time to kick off the development server in connected mode. Run the jss start:connected command, some magic happens in the console and suddenly your default browser opens a webpage pointing to your dev server on port 3000.
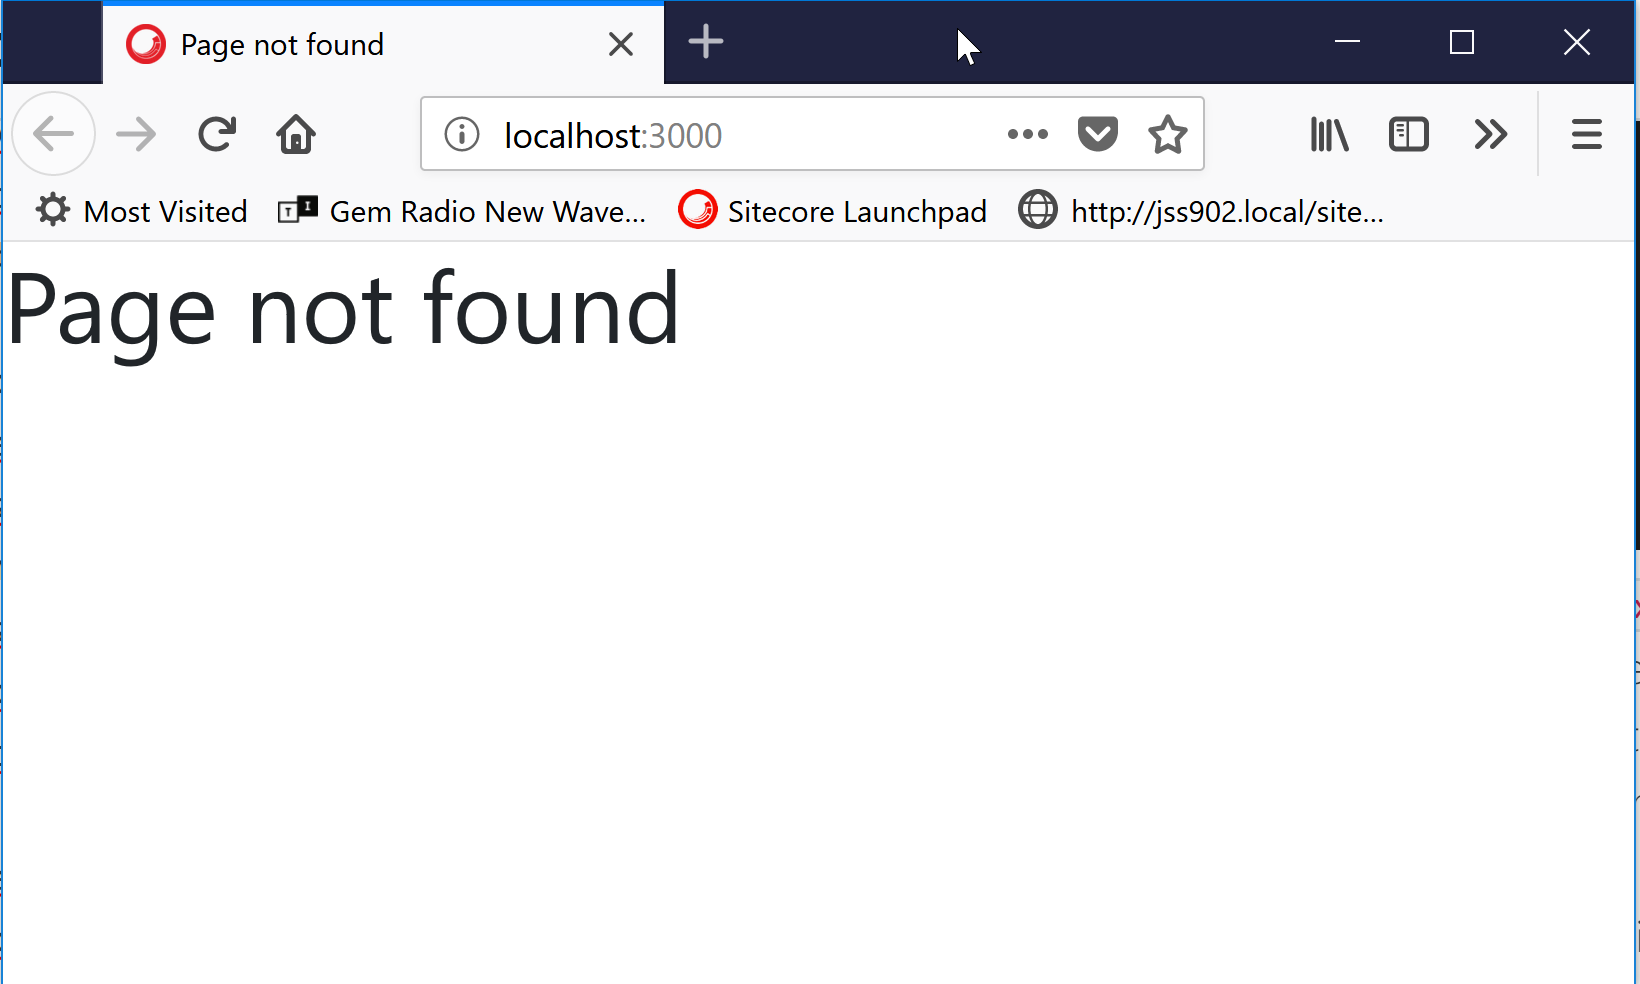
Not really what you expected but do not be alarmed! The 404 is normal behaviour. Let me explain why. I check the network tab to see what happens:
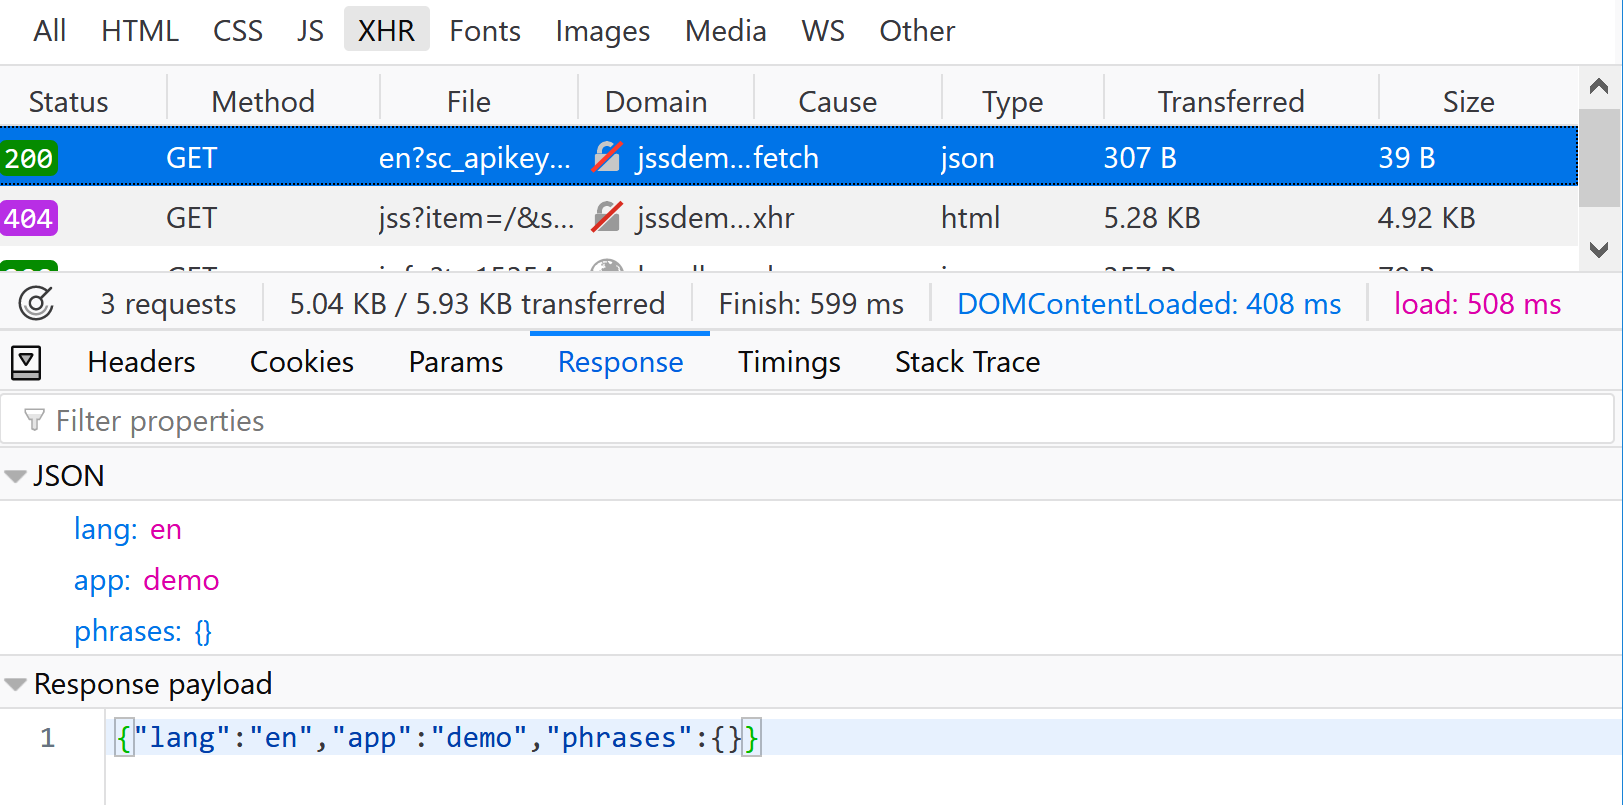
As you can see the call was executed which means we have a connection and we got data back. But it looks like somethin's missing and a quick check points to the workflow state of the item:

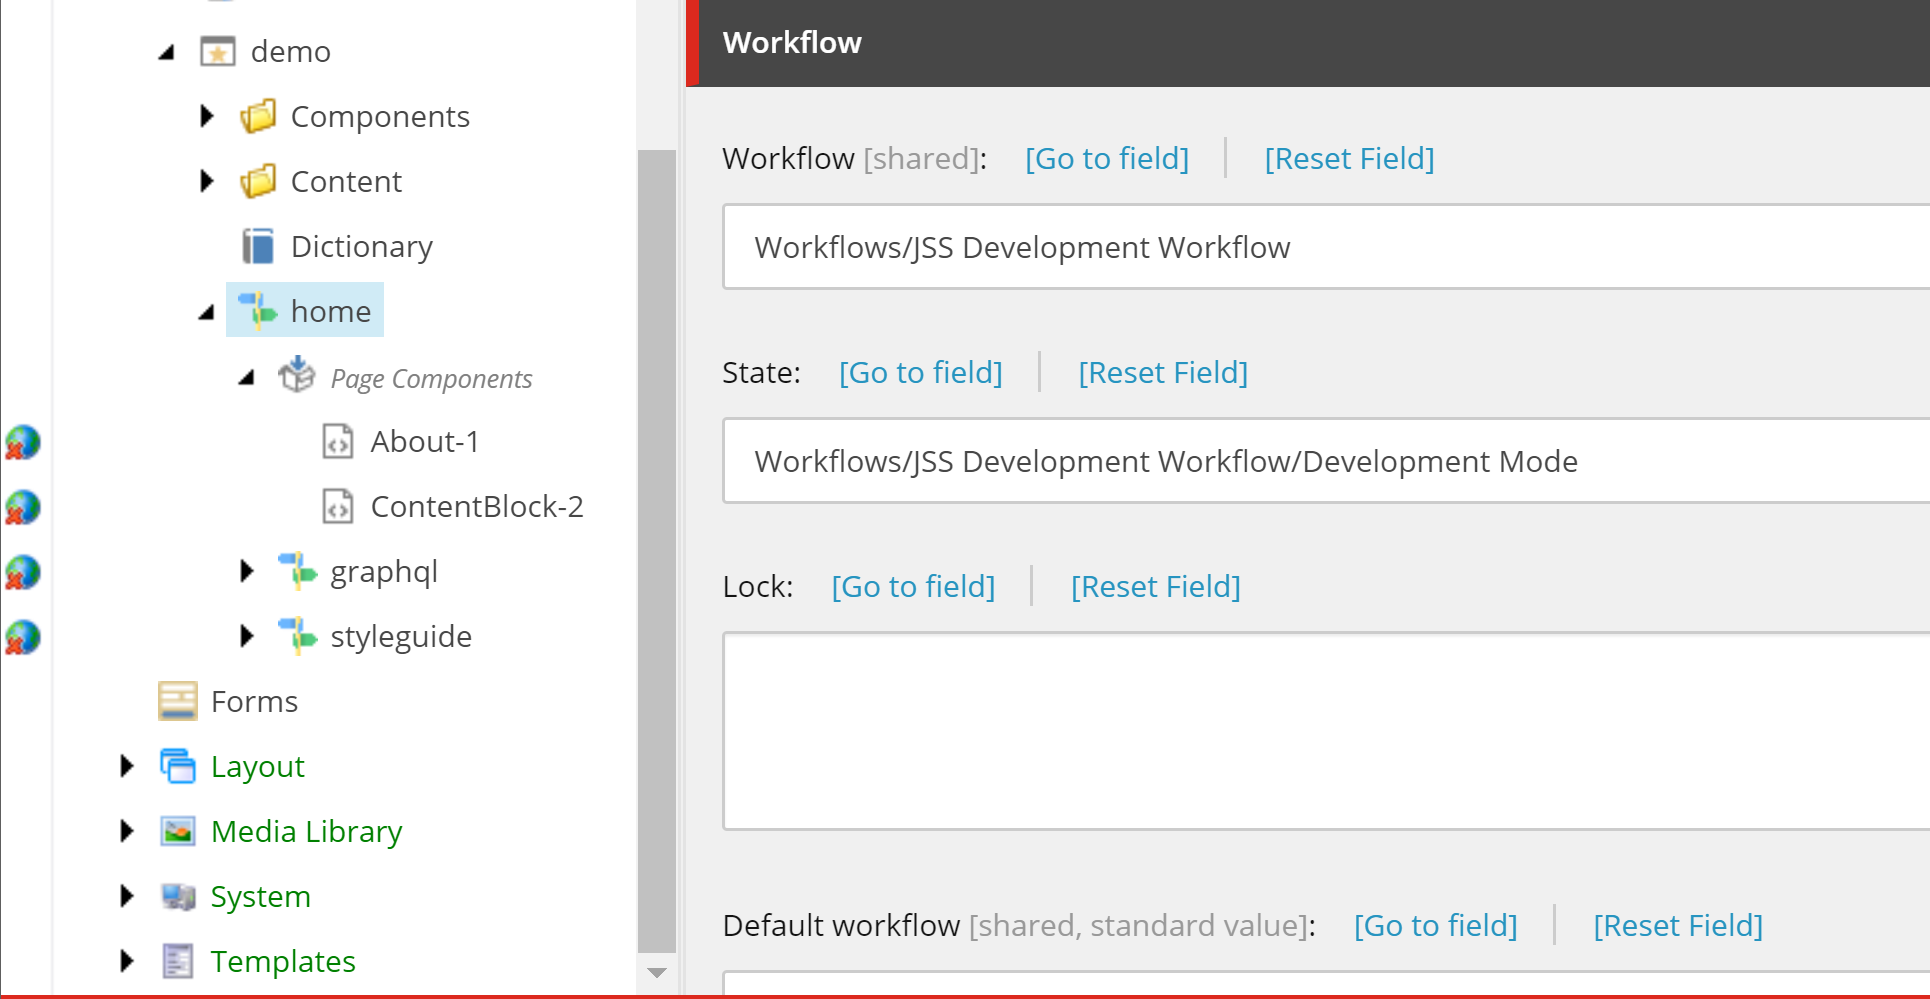
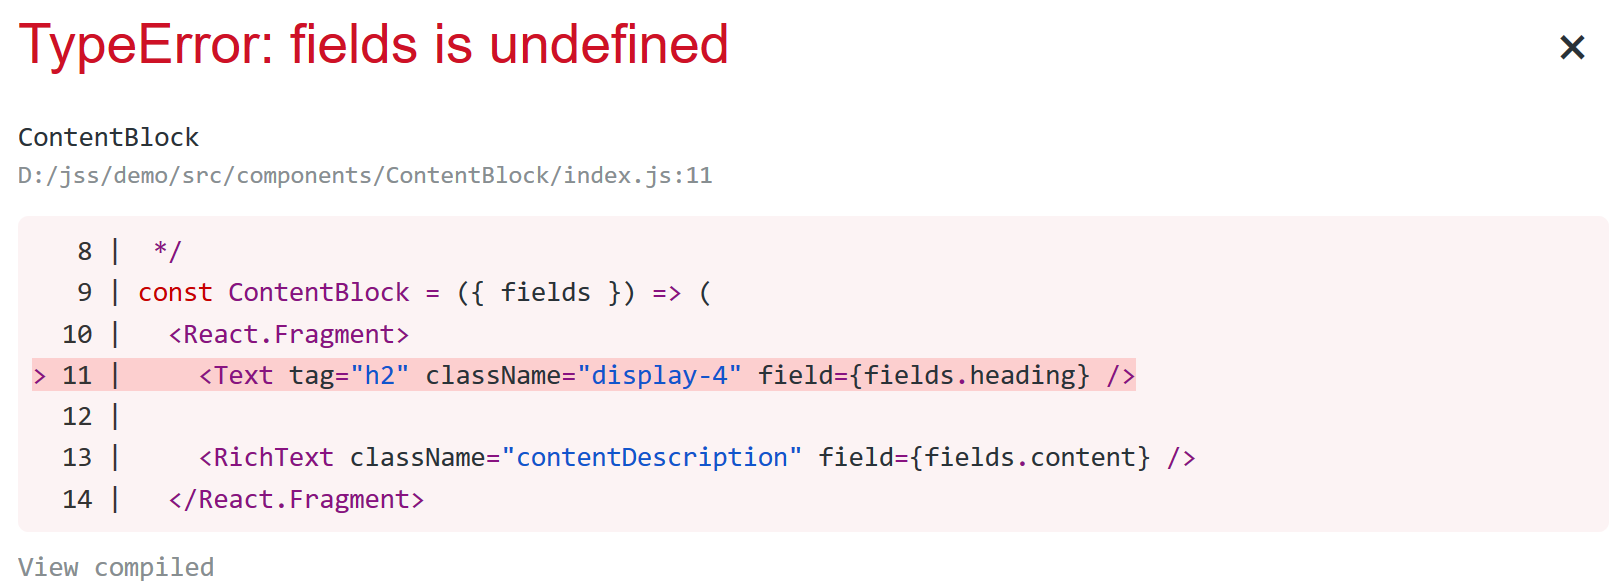
So I changed the workflow state of the item to published, refreshed the page of my dev server and this time I get an error saying that fields is undefined. Ugh!
The inspector (network tab / Response) shows me more data. I now can see Sitecore context data and route information. Also the main placeholder with my components (About and ContentBlock) is available.
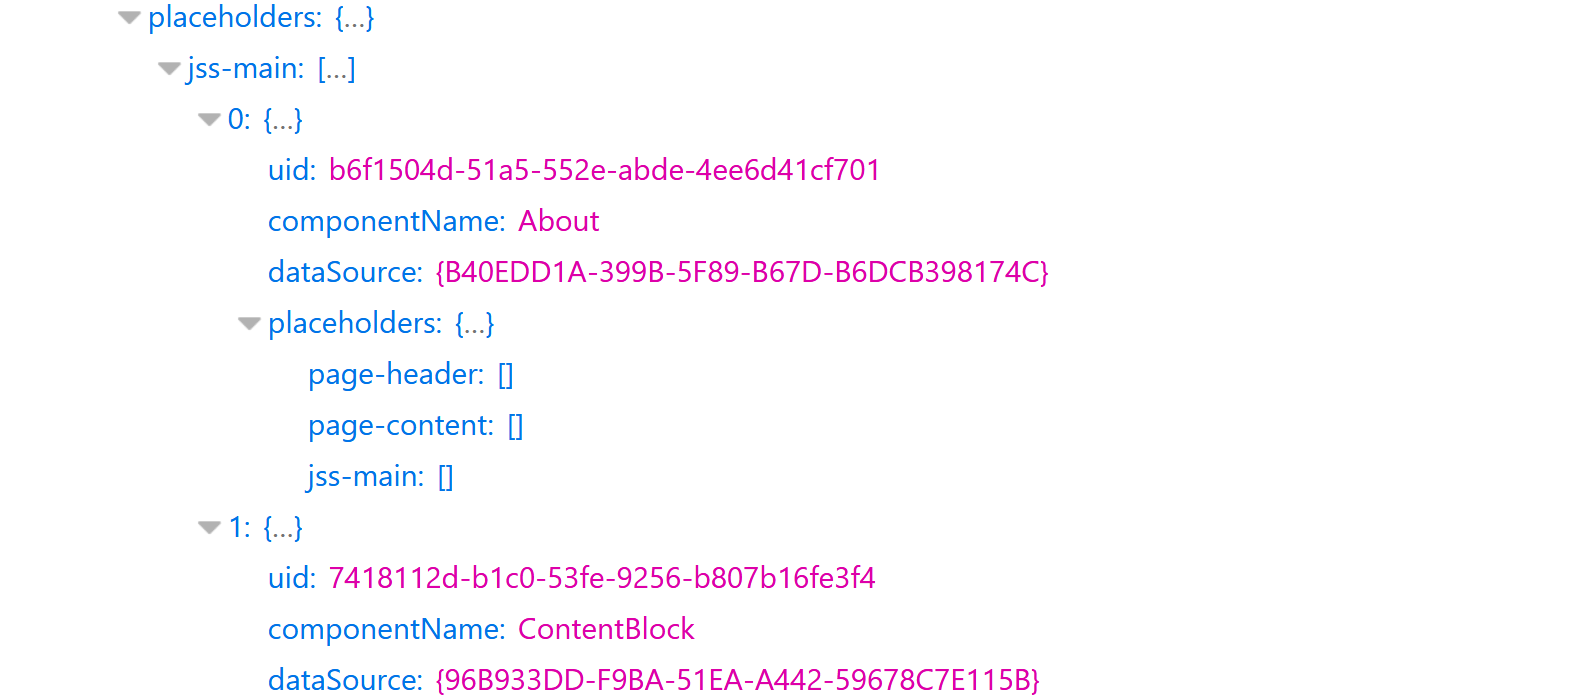
As you can see we do not see the field values of the components. Reason for this is that they are also in the Development Mode workflow state.
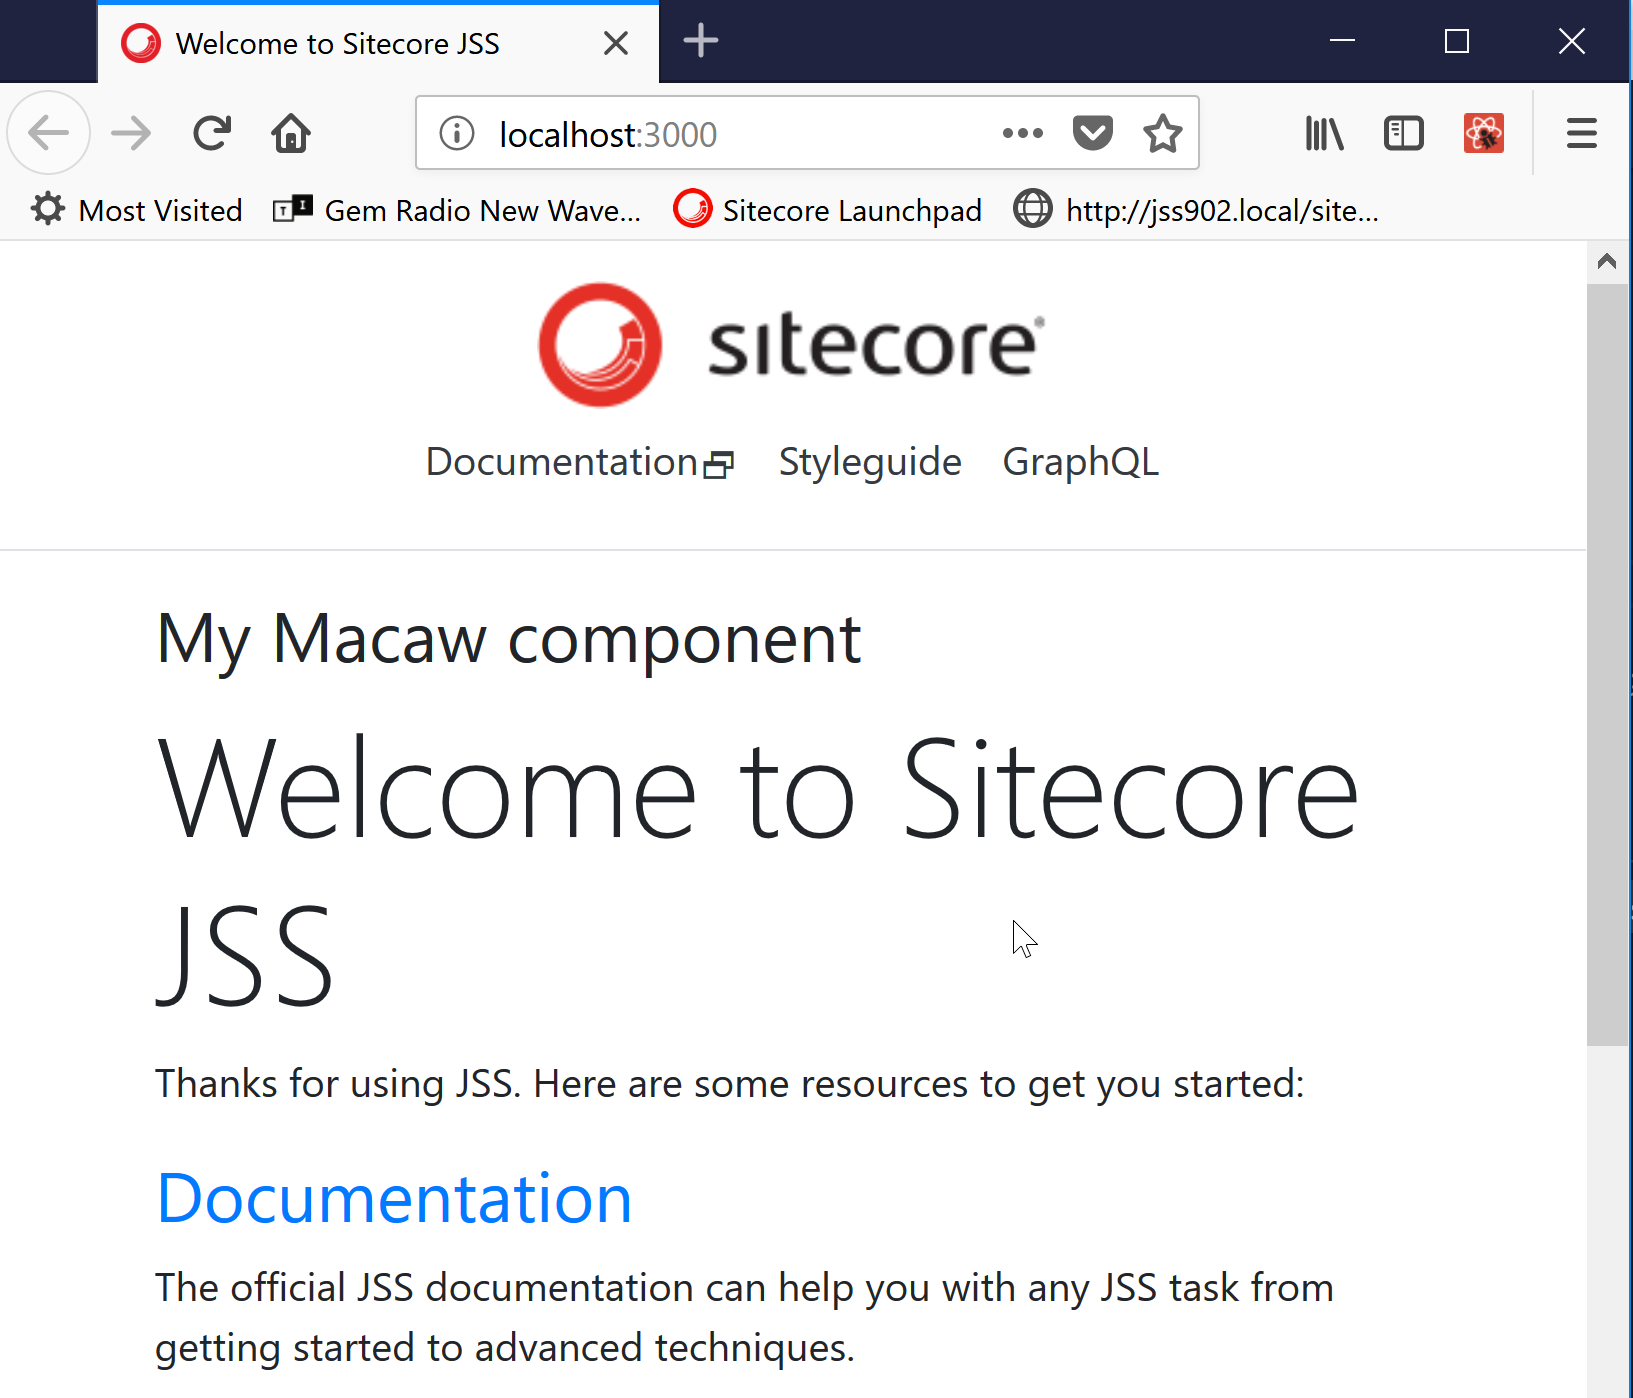
Changing the states to Published gave me the result I needed. Also in the Published state I now can change content in the Content Editor. Changes will be visible in my development environment after I hit F5.
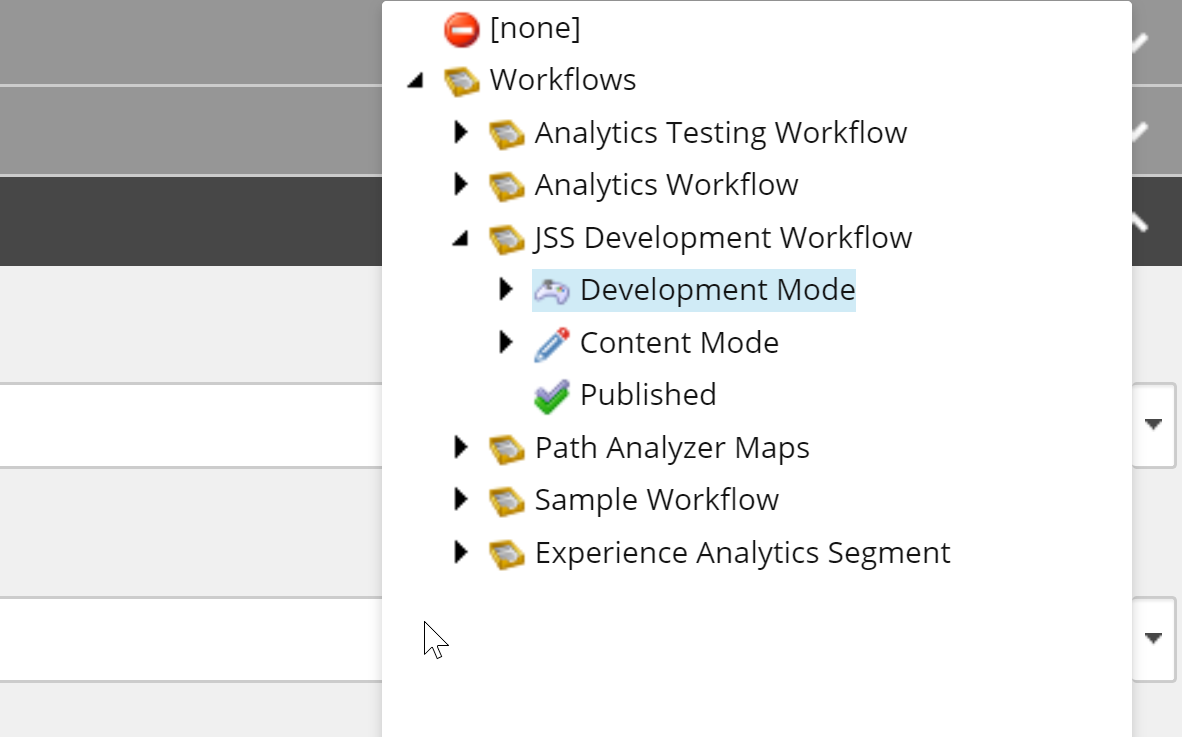
 Sitecore JSS: Development Workflow states
The JSS import process is designed to gracefully skip items to which the configured import user does not have write permission. This allows you to utilize Sitecore Security to prevent the import from overwriting content which should no longer be "developer-owned."
To further facilitate this, JSS includes a content workflow which is automatically applied to all generated templates. This workflow defines Development Mode and Content Mode states to designate the current "ownership" of a content item.
Notice that when publishing Sitecore content it is automatically put into the Development Mode workflow state.
Items can be set in one of the three states:
- Development Mode - Import can overwrite field values and route item layout. This fully facilitates the Code First approach.
- Content Mode - Import user is denied item write access. Import will skip writes on the item. For route items, this means that any rendering changes or updates to datasource items are also skipped. This still facilitates the Code First approach, but with limitations.
- Published - Final state of the JSS Development workflow. The items are no longer governed through manifest deployment in your deployment process. After the disconnected approach you shift into the Sitecore First approach.

Comments